Bought a new Brother printer but don’t know how to connect it to your computer? Don’t bother, we are here. In this step-by-step guide, we will walk you through the process of setting up your Brother printer, whether you have a wired or wireless connection. By following these instructions, you’ll have your Brother printer up and running in no time, ready to handle your printing needs efficiently.
Connect Your Brother Printer to Computer in 6 Easy Steps
Setting up a Brother printer and connecting it to your computer doesn’t have to be a complicated task. There are multiple ways to connect the printer to your computer. You just need to follow the below-given steps to successfully connect your Brother printer to your computer with our Brother printer support.
Step 1: Unpack and Prepare Your Brother Printer
Before diving into the setup process, ensure you have unpacked your Brother printer and have the necessary components ready:
- Brother printer and power cable
- Ink or toner cartridges (if not pre-installed)
- USB cable (if connecting via USB)
- Network details (if connecting wirelessly)
Step 2: Power Up Your Printer
- Plug the power cable into your Brother printer and connect it to a power outlet.
- Turn on the printer using the power button.
Step 3: Install Ink or Toner Cartridges

- If your printer comes with ink or toner cartridges, install them following the instructions in your printer’s manual.
- Make sure to remove any protective tape or packaging.
Step 4: Choose Your Connection Method
Depending on your preference and the available options, you can choose one of the following connection methods:
a. Wired Connection (USB):
- Connect one end of the USB cable to your Brother printer and the other end to an available USB port on your computer.
- Windows or Mac should detect the printer automatically and start installing the necessary drivers.
b. Wired Connection (Ethernet):
- Connect an Ethernet cable from your printer to your router or network switch.
- Windows or Mac should detect the printer automatically and configure it for use on your network.
c. Wireless Connection (Wi-Fi):
- Navigate to the printer’s control panel and access the “Network” or “Wireless” settings.
- Follow the on-screen prompts to connect your printer to your Wi-Fi network.
- You may need to enter your network’s SSID and password during this process.
Step 5: Install Printer Drivers and Software
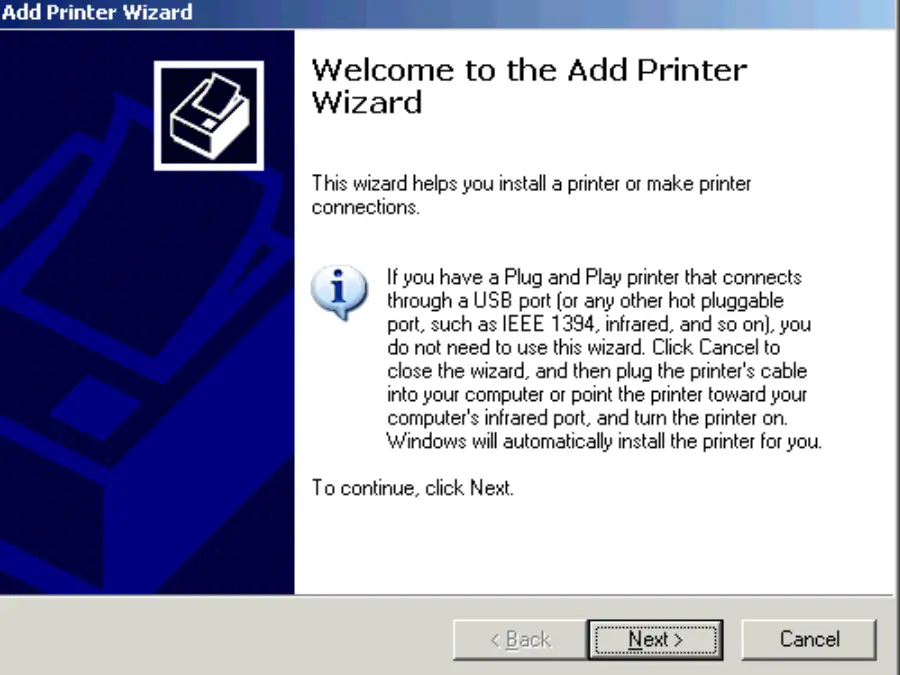
- Insert the provided printer installation CD or download the latest drivers and software from the Brother website.
- Follow the installation wizard’s instructions, selecting your printer model and connection type (USB or network).
- The software will guide you through the driver installation process.
Step 6: Complete Setup and Test Print

Once the installation is complete, the software will prompt you to perform a test print. This ensures that your Brother printer is communicating correctly with your computer.
Follow the on-screen instructions to complete the test print.
Conclusion
Setting up your Brother printer and connecting it to your computer is a straightforward process that can be accomplished in just a few steps. Whether you choose a wired or wireless connection, Brother provides user-friendly software and clear instructions to guide you through the setup. By following this guide, you’ll have your Brother printer ready to tackle your printing tasks efficiently, making it a valuable addition to your home or office setup.
Having difficulty connecting your Brother printer? Just contact our printer support team and our printer experts will guide you with each step in your Brother printer installation. We provide round-the-clock service to assist individuals with printer setup or printer error resolution.
Call Us For Instant Solutions
Don’t Let Printer Problems Hold You Back!